Overview
I’ve been using VS Code since early 2016 not so long after its initial release. With all the features and customization capabilities it provides out-of-the-box, I strongly believe it’s the best code editor to date. Not to mention the extensions ecosystem that makes VS Code almost almighty. You can find extensions for anything you may think of, and even if you haven’t thought of something, there is still an extension for that. 😄
Once you get used to VS Code, you will have more extensions installed. At some point, you may even start crafting a custom list of your favorite extensions. They can range from general ones, to project or language-specific ones. As the list inevitably grows big, managing it becomes a bit of a hassle. Sometimes you can even forget what extensions you have installed, and what they do. 😄 How can you work around this? Well, one of the ways is to create your own extension pack.
What the heck is an extension pack?
An extension pack is a collection of extensions that you can install in one click. Bundling your extensions into a single package provides certain benefits. For example, you can have one pack with ‘global’ extensions, another pack for specific projects, etc. Or, you can have different packs for different activities, like, writing code, tests, documentation, etc. Coupled with VS Code Workspaces, extension packs give you more flexibility and control over your extensions.
Extension packs are also useful for sharing your extensions with your friends or colleagues. Finally, you can create a pack to back up your extensions and then restore them on a new machine or after a fresh VS Code installation when you haven’t configured sync yet (or if you don’t want to use it).
Well, long story short, let’s get to the point.
Prerequisites
-
To create your extension pack, you need:
- VS Code or VS Code Insiders.
- Node.js + npm and Git.
-
(optional) To publish your extension pack, you need Personal Access Token (PAT). After completing this step, you should have your account created on the Visual Studio Marketplace, an organization in Azure DevOps and Personal Access Token (PAT) generated.
Create an extension pack
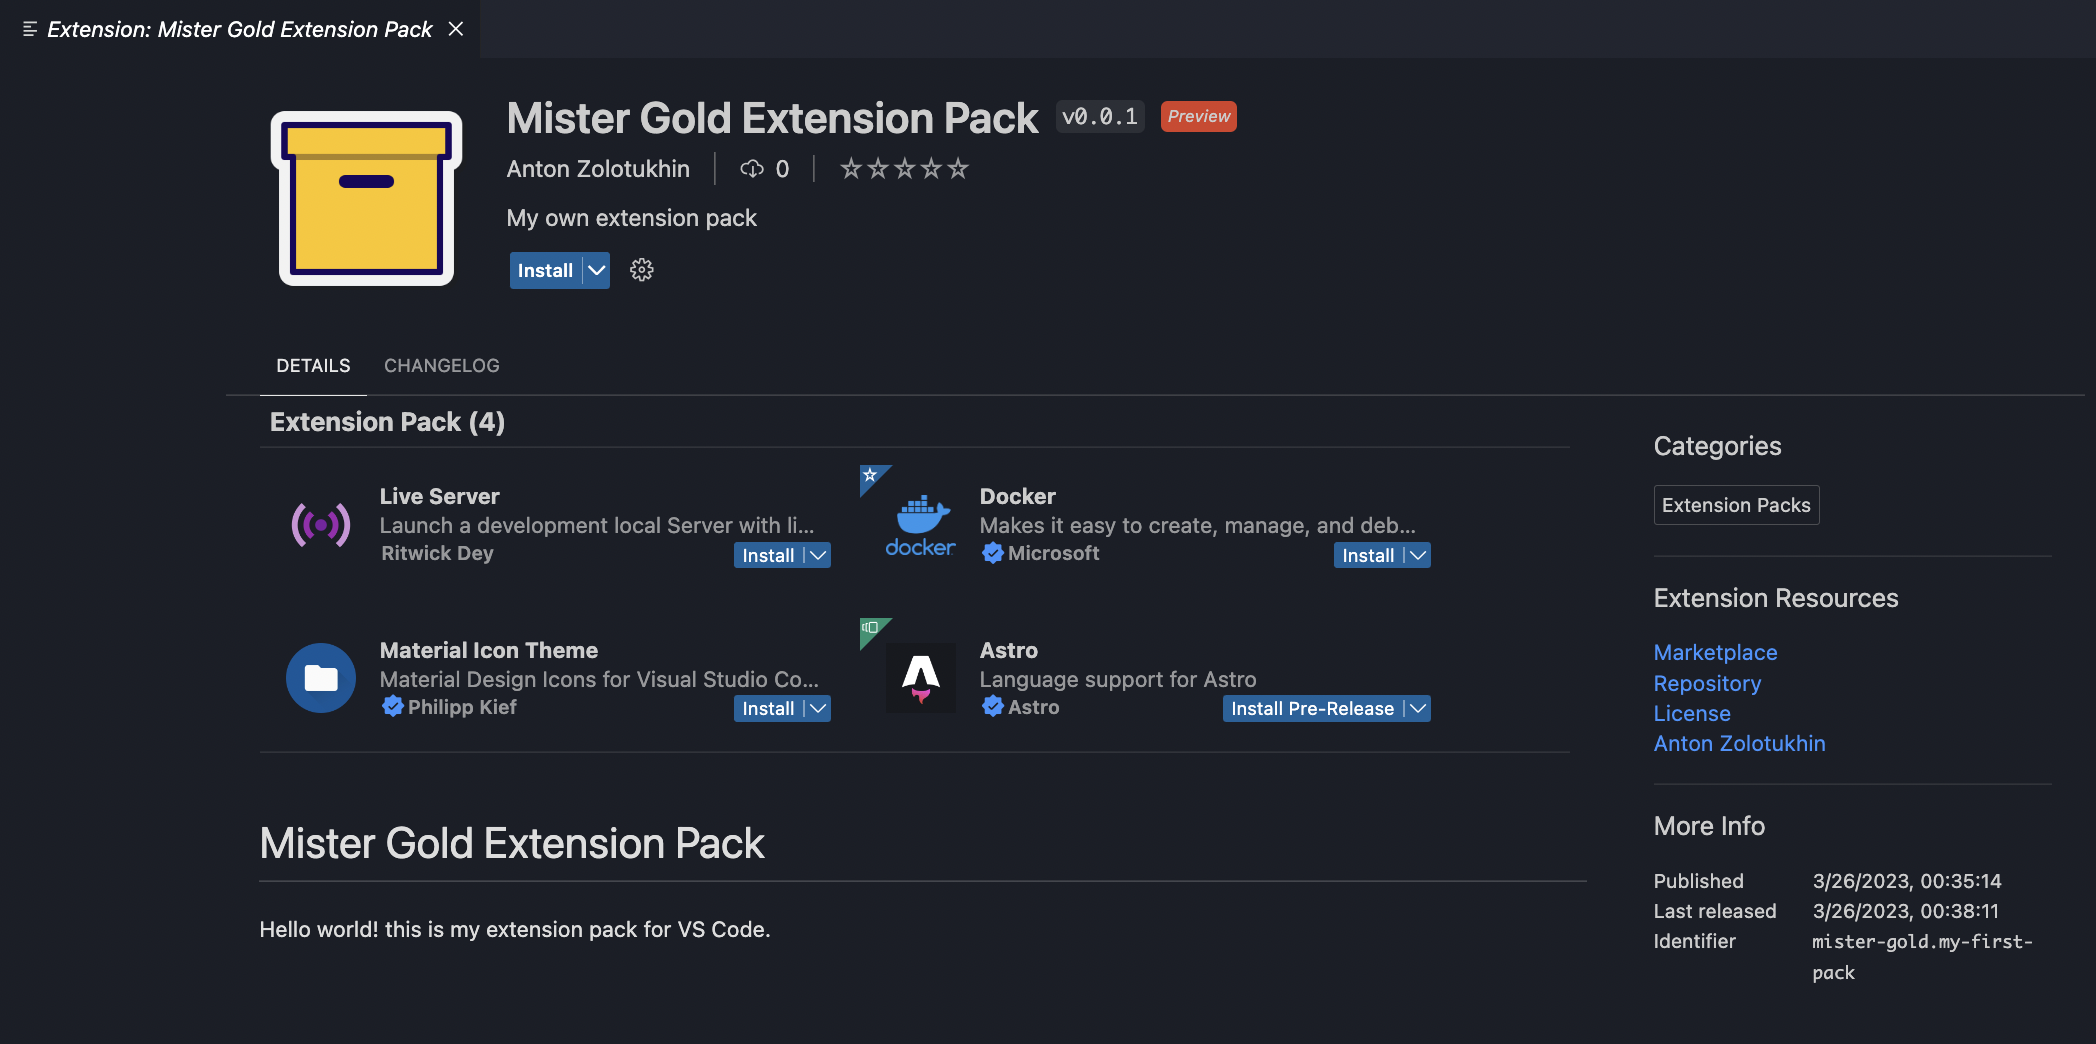
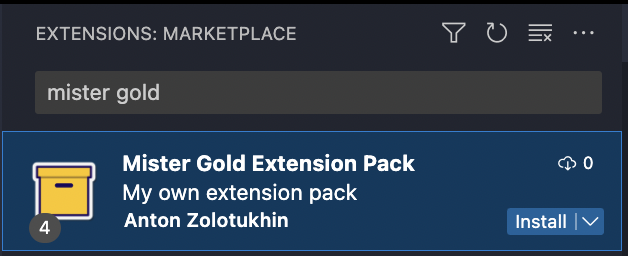
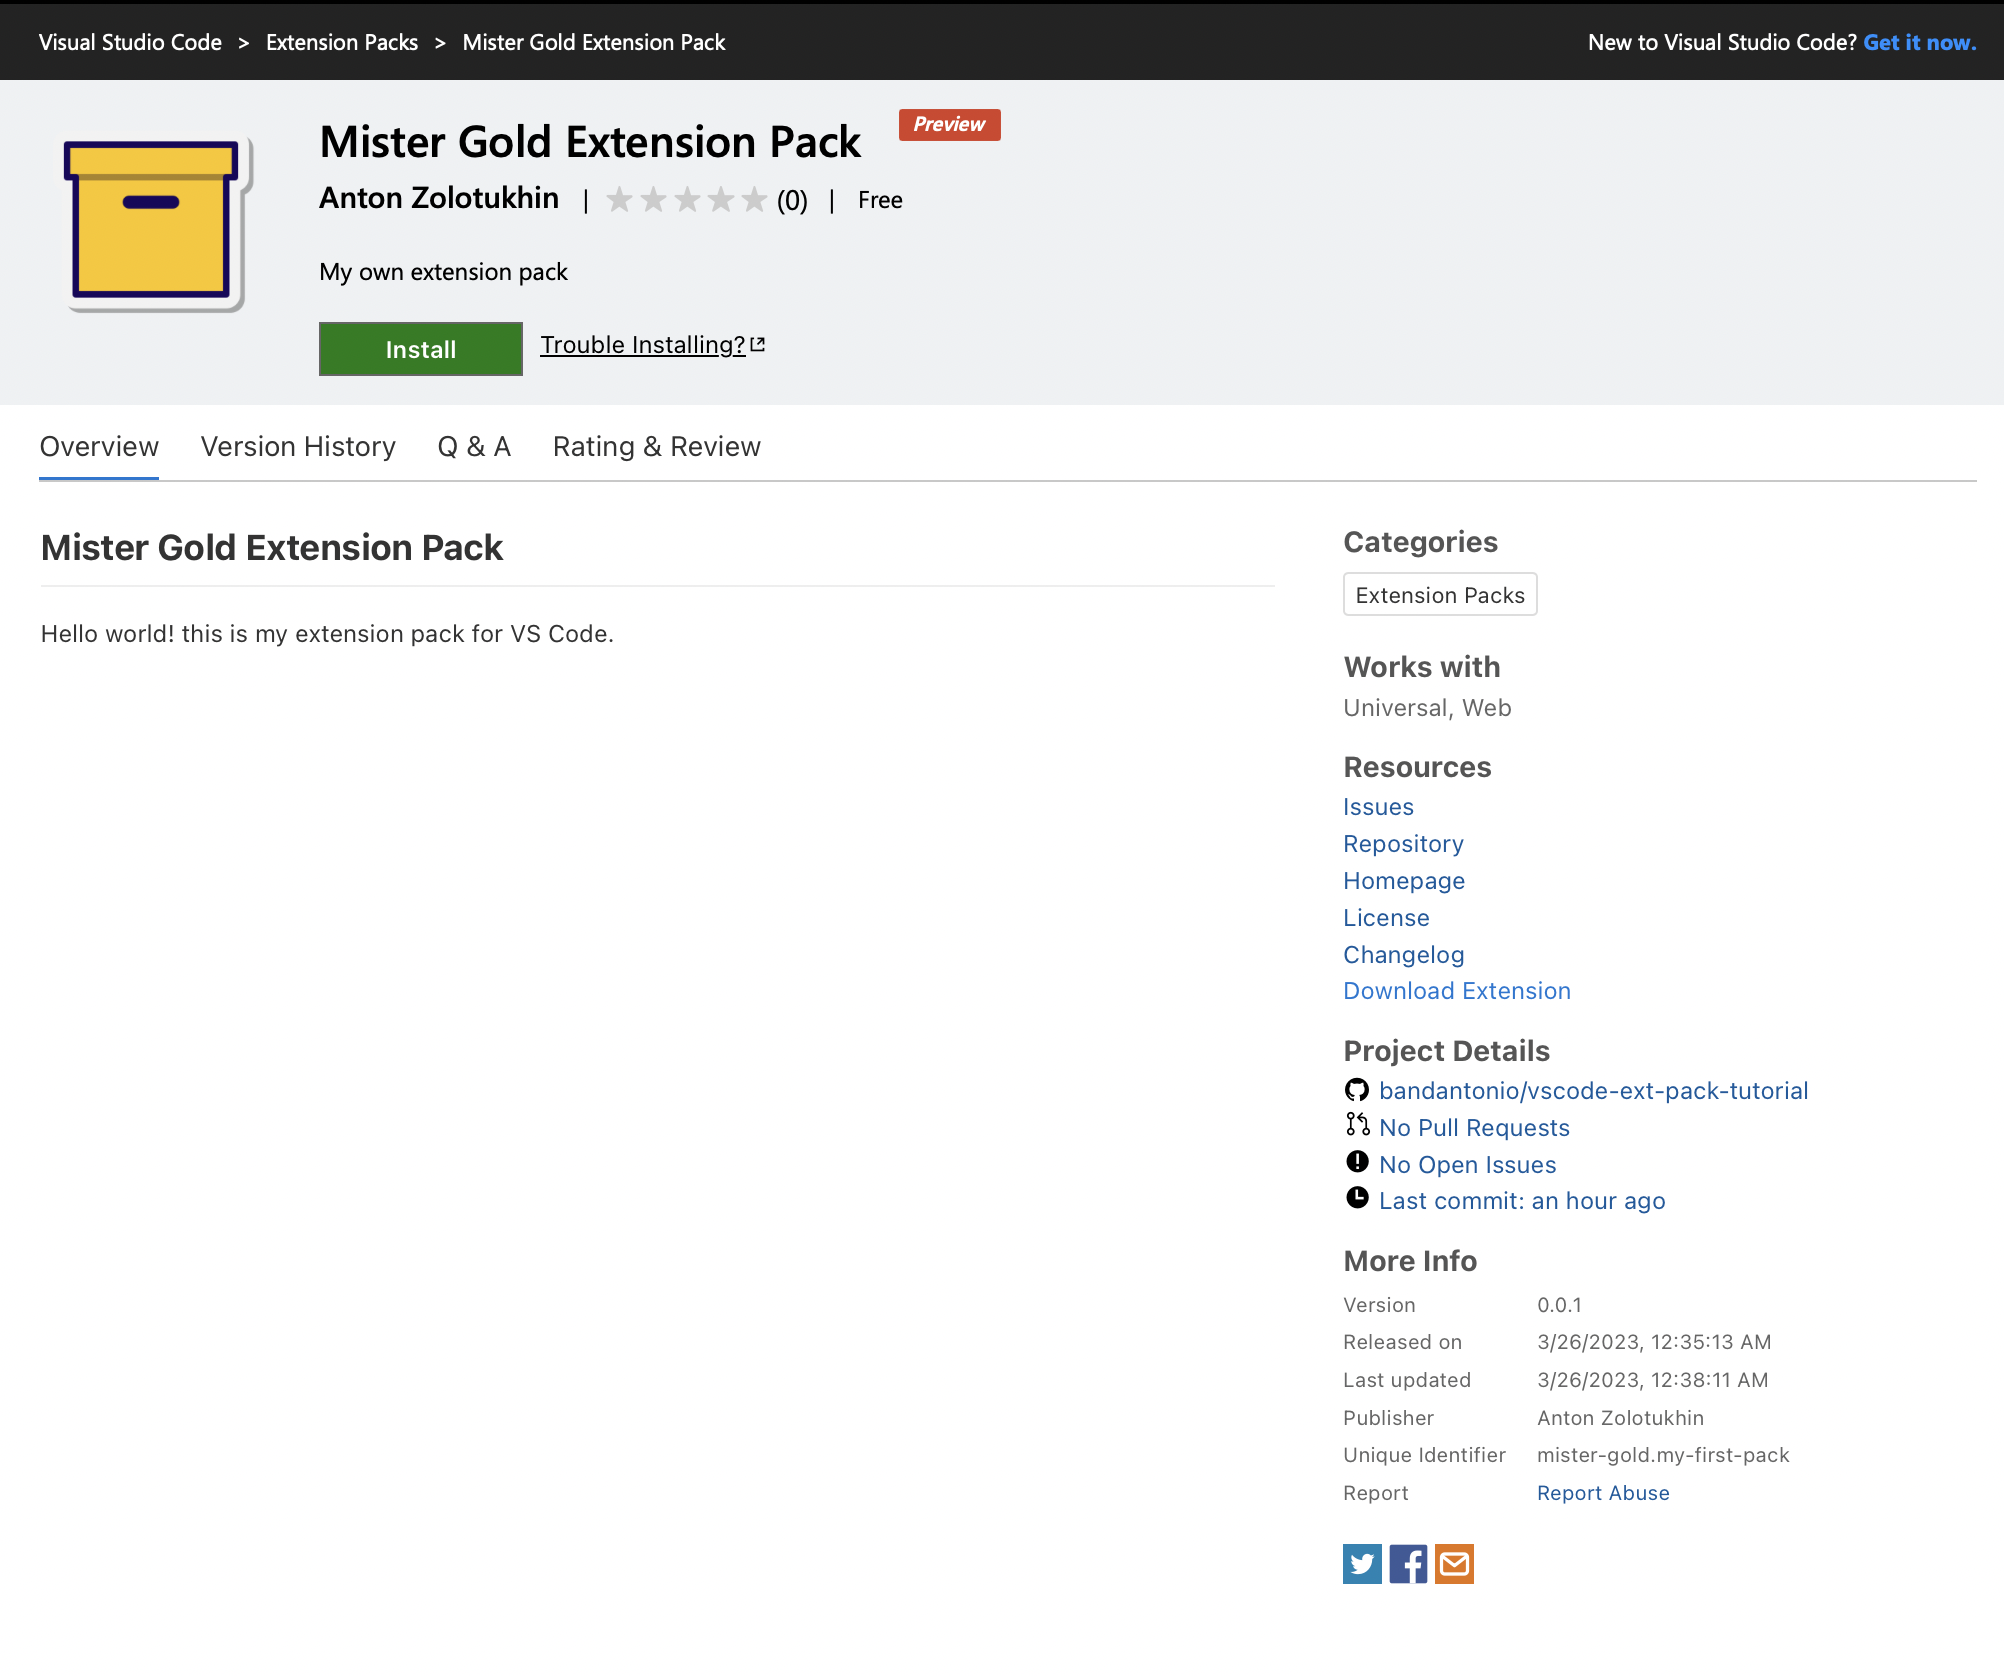
In this tutorial, you will create a simple pack with a few extensions and then publish the pack to the Visual Studio Marketplace. This is how it will look like:
- locally:

- after publishing:
NOTE: If you want to check the source files right away, go to the GitHub repository that I created for this tutorial.
-
Create a new folder for your extension pack (you can name it any way you want) and open it in VS Code.
-
In the folder, create a
package.jsonfile that is an extension manifest file. The content of the file is the following:{ "name": "my-first-pack", "displayName": "Mister Gold Extension Pack", "version": "0.0.1", "preview": true, "publisher": "mister-gold", "icon": "icon.png", "description": "My own extension pack", "categories": [ "Extension Packs" ], "extensionPack": [ ], "engines": { "vscode": "^1.76.0" }, "repository": { "type": "git", "url": "https://github.com/bandantonio/vscode-ext-pack-tutorial.git" } }I want to point out the following important parameters:
name- id of your extension pack.publisher- the name of the publisher. If you want to publish your extension pack, this must be the id of your account in Visual Studio Marketplace.extensionPack- list of extensions to include in your pack. Let’s leave it empty for now.engines- VS Code version(s) that your extension pack is compatible with. Setting up the current version and onwards is good enough.repository- link to the repository where your extension pack is hosted. For now, to keep publishing simple, you can use your GitHub profile link.
-
Add an icon for your extension pack. The
iconparameter specified above, points to a non-existent file. You can use the one from the screenshot or create your own. The icon size must be 128x128 pixels (256x256 for Retina displays). -
Create a
README.mdfile with the following content:# Mister Gold Extension Pack Hello world! this is my extension pack for VS Code. -
Create a
CHANGELOG.mdfile with the following content:# Changelog All notable changes to the "my-first-pack" extension pack will be documented in this file. ## 0.0.1 - Initial release -
Create a
LICENSEfile with the following content:MIT License
Let’s test the extension pack by creating a VSIX package using @vscode/vsce CLI tool. For convenience, you can use the npx command to run the tool without installing it globally:
npx @vscode/vsce package
Need to install the following packages:
  @vscode/vsce
Ok to proceed? (y) y
 DONE  Packaged: /vscode-extension-pack/my-first-pack-0.0.1.vsix (7 files, 5.44KB)
After that, you should see a new file in your folder: my-first-pack-0.0.1.vsix:

To install the package, execute the following command in your terminal:
# if you use VS Code
code --install-extension my-first-pack-0.0.1.vsix

# if you use VS Code Insiders
code-insiders --install-extension my-first-pack-0.0.1.vsix
After that, you should see the extension pack in the list of installed extensions:
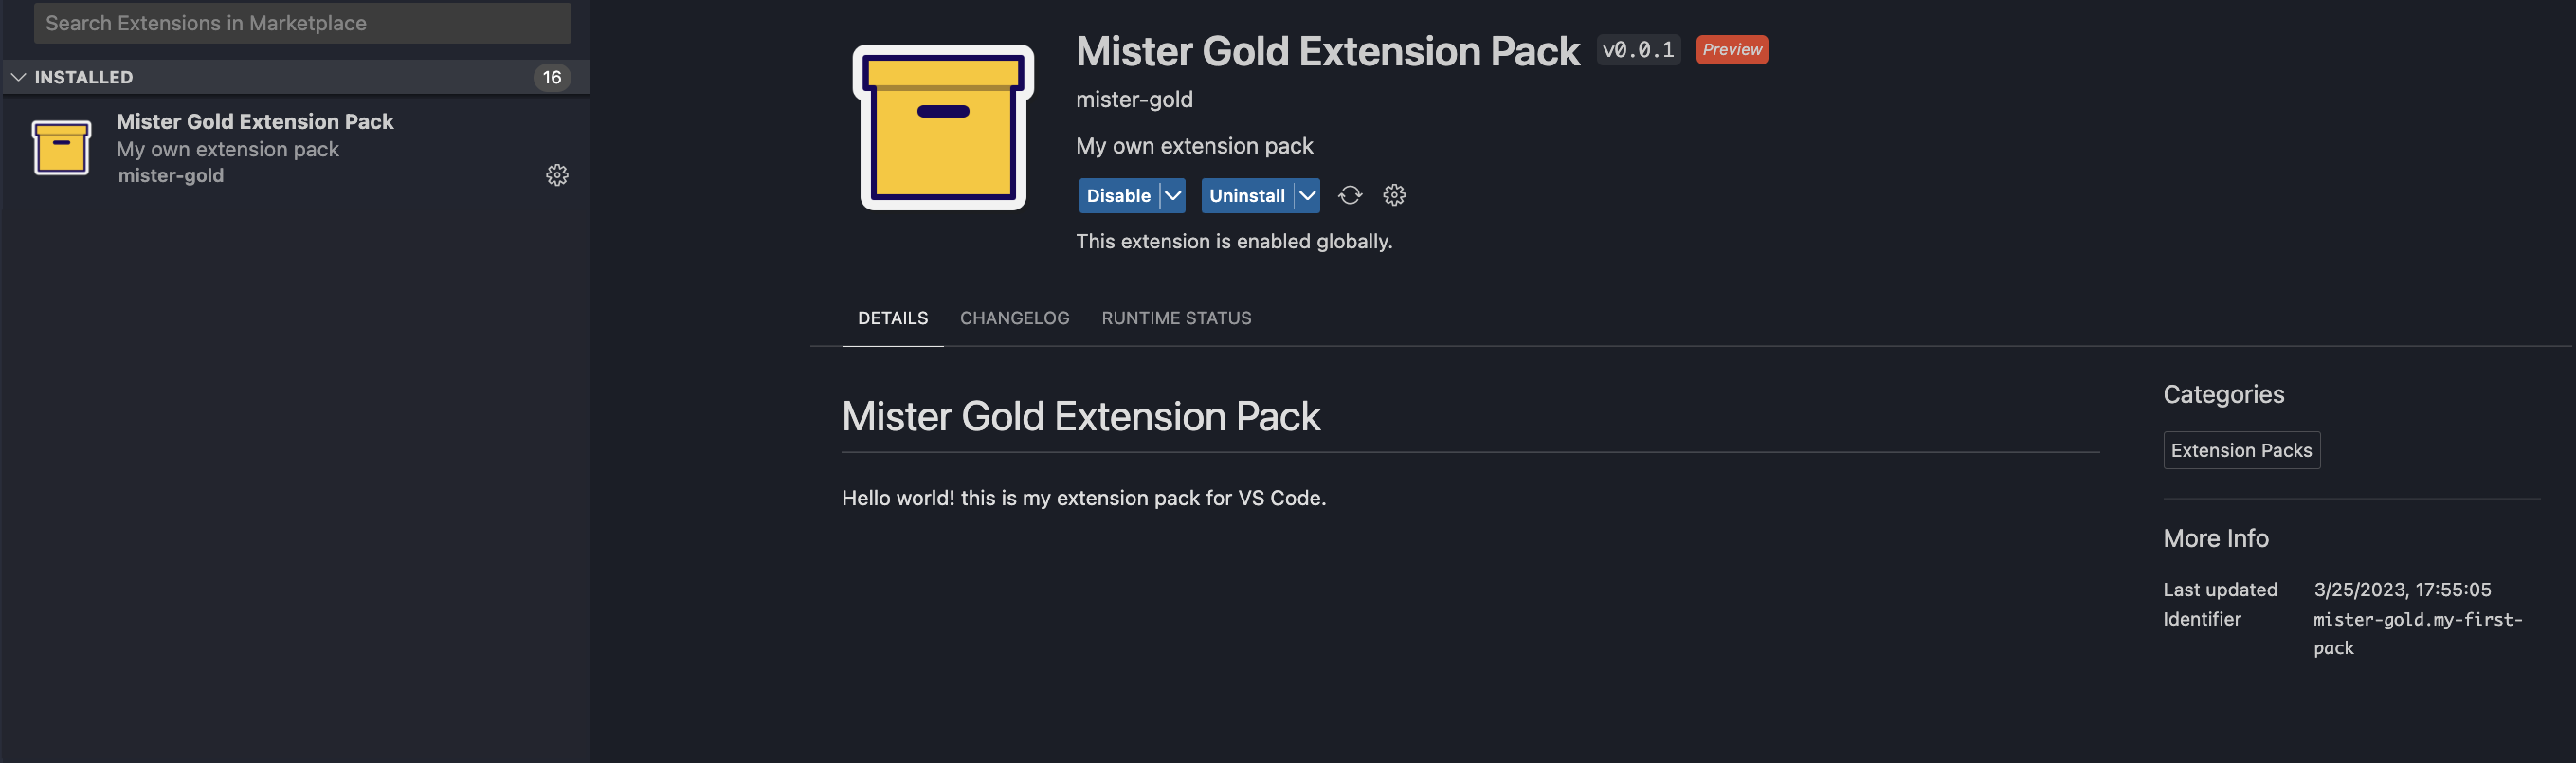
So far, so good! At the moment, the extension does nothing useful yet, but it works. Let’s proceed to the most interesting part and add some extensions to the pack.
But first, you need to uninstall the ‘dummy’ extension pack. To do it, you need to use the extension’s id that you can find under the More Info section as Identifier:
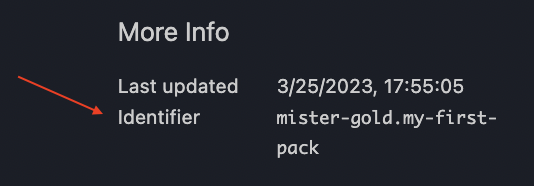
TIP: Extension ID consists of the publisher and name parameters from the package.json file and has the following format: publisher.name.
You can also right-click on the extension in the Extensions view and select Copy Extension ID.
# if you use VS Code
code --uninstall-extension mister-gold.my-first-pack

# if you use VS Code Insiders
code-insiders --uninstall-extension mister-gold.my-first-pack
Adding extensions to your pack is a process of adding their ids to the extensionPack section of your package.json file. For this tutorial, I will add the following extensions:
- Live Server (id:
ritwickdey.liveserver) - Material Icon Theme (id:
pkief.material-icon-theme) - Docker (id:
ms-azuretools.vscode-docker) - Astro (id:
astro-build.astro-vscode)
You can follow along with the same extensions or choose your own. With the extensions listed above, the extensionPack section of the package.json file will look like this:
"extensionPack": [
    "ritwickdey.liveserver",
    "pkief.material-icon-theme",
    "ms-azuretools.vscode-docker",
    "astro-build.astro-vscode"
]
Now, you need to create a new VSIX package and install it:
npx @vscode/vsce package
 DONE  Packaged: /vscode-extension-pack/my-first-pack-0.0.1.vsix (7 files, 5.57KB)

code-insiders --install-extension my-first-pack-0.0.1.vsix
Installing extensions...
Extension 'my-first-pack-0.0.1.vsix' was successfully installed.
Open the Extensions view and check that all the extensions that you’ve added to your pack are installed:
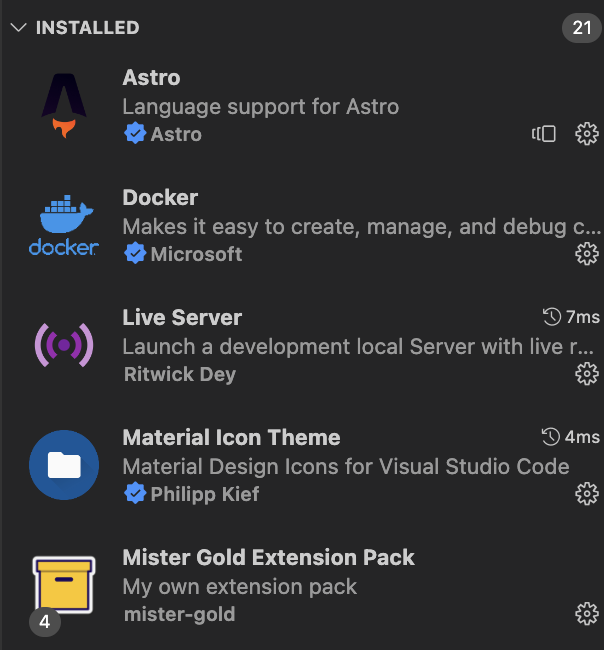
Also note the grey badge in the bottom left of the pack icon. It shows the number of extensions the pack includes.
Great! At this point, you have a working extension pack that you can customize any way you want and share as a VSIX package. If this scenario is good enough for you, feel free to stop reading this tutorial here. For those who want a complete experience, let’s proceed to the next step and publish the extension pack to the Visual Studio Marketplace.
Publish an extension pack
If you’re reading this section, it means that you’ve already completed the second step in the Prerequisites section. If not, please do it now.
You can publish your extension pack in two ways: using the @vscode/vsce CLI tool or using the Visual Studio Marketplace website. But who cares about the website? Real ninjas use the command line.
Before publishing your extension pack, you can test your publisher’s PAT using vsce:
# vsce login <publisher name>
npx @vscode/vsce login mister-gold

https://marketplace.visualstudio.com/manage/publishers/
Personal Access Token for publisher 'mister-gold': ****************************************************

The Personal Access Token verification succeeded for the publisher 'mister-gold'.
Now you are ready to publish your extension pack:
npx @vscode/vsce publish
 INFO  Publishing 'mister-gold.my-first-pack v0.0.1'...
 INFO  Extension URL (might take a few minutes): https://marketplace.visualstudio.com/items?itemName=mister-gold.my-first-pack
 INFO  Hub URL: https://marketplace.visualstudio.com/manage/publishers/mister-gold/extensions/my-first-pack/hub
 DONE  Published mister-gold.my-first-pack v0.0.1.
Congratulations! Your extension pack was successfully published and it is now accessible via the specified Extension URL.
Check that now your extension pack is available:
- in VS Code:
- in Marketplace:
NOTE: The currently published extension may differ from the one showed in this tutorial. Please refer to the GitHub repository for the exact version of source files used when creating this tutorial.
Well, that’s it for this article. Thanks for reading. I hope you enjoyed it!